Microsoft Copilot Studio
This article explains how to configure the Demandbase MCP server as a Model Context Protocol (MCP) tool in Microsoft Copilot Studio so your Copilot agent can access Demandbase tools.
Important: To use Demandbase MCP with Microsoft Copilot, end-users must have access to Microsoft 365 Copilot Enterprise.
Prerequisites
Make sure you have:
- Access to Microsoft Copilot Studio.
- Permission to create and publish Copilot agents.
- A Demandbase account enabled for the MCP experience.
- Access to your organization's Demandbase Okta sign-in flow.
Step 1: Sign in to Microsoft Copilot Studio
- Log into to the Microsoft 365 admin center.
- Open Microsoft Copilot Studio.
- Select the appropriate environment.
Step 2: Create a Copilot Agent
- From the left navigation bar, click Agents.
- Click Create > Blank Agent.
- Complete the following:
- Name: Enter a name for the agent.
- Description: Describe the agent.
- Agent Model: Select the model appropriate for your use case.
- Add instructions: See Step 3: Configure the Agent Instructions.
Step 3: Configure the Agent Instructions
We recommend using the Demandbase MCP agent instructions so your agent selects the correct tools, asks for clarification when needed, and formats responses consistently.
See Recommended AI Agent Instructions for Demandbase MCP.
Step 4. Add the Demandbase MCP tool
- Select the Tools tab.
- Click Add a tool.
- Under Model Context Protocol, click New Tool.
- Select Model Context Protocol as the tool type.
- Complete the following:
- Server Name: Enter a name for the server.
- Description: Describe the server.
- MCP Server URL: https://gateway.demandbase.com/mcp/servers/db-mcp
- Authentication: OAuth (Dynamic Discovery)
- Click Create.
Step 5. Create the OAuth connection
-
Click Create new connection.
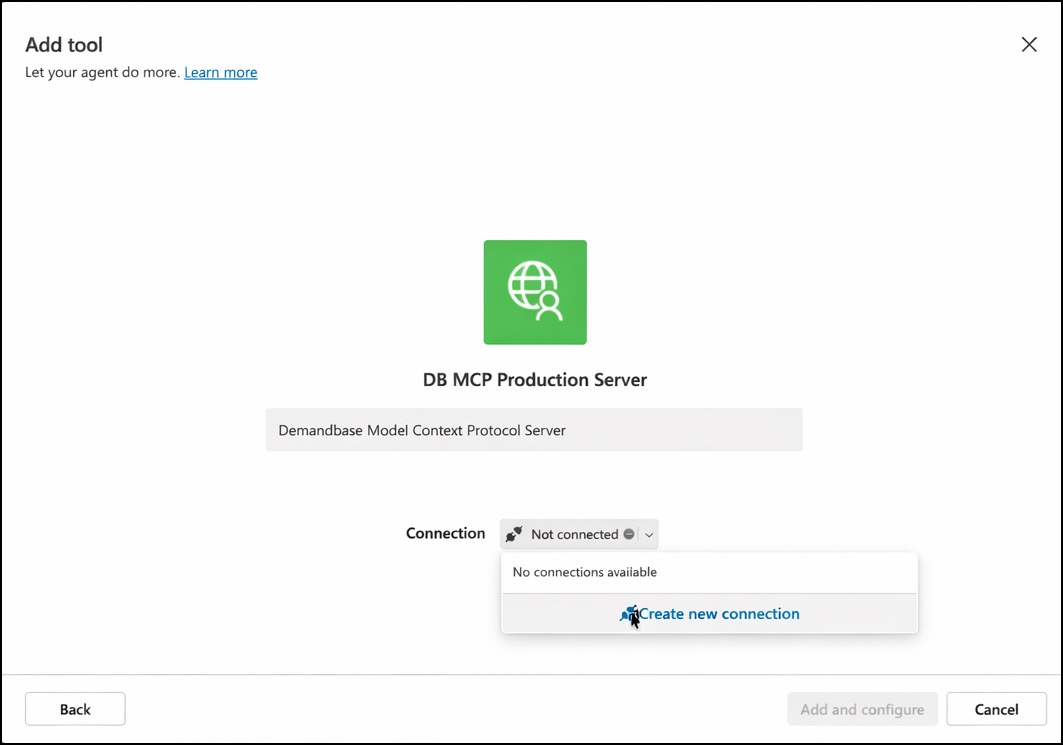
-
Click Create.
-
A browser window opens to begin the OAuth authorization flow.
At this point, Microsoft redirects you to the Demandbase authorization endpoint.
Step 6. Allowlist the OAuth redirect URI
During the initial setup, Microsoft displays a 400 Bad Request error because the OAuth redirect URI hasn't yet been allowlisted by Demandbase. This behavior is expected and only occurs the first time you create the connection.
- Copy the URL from the browser's address bar.
- Extract the
redirect_uriparameter from the URL. - Decode the
redirect_urivalue using a URL decoder, such as URL Decoder. - Send the decoded redirect URI to Demandbase Support and request that it be allowlisted.
- Wait until Demandbase Support confirms that the redirect URI has been added to the allowlist.
After the redirect URI has been allowlisted, continue to the next step.
Step 7. Connect the Demandbase MCP tool
- Return to Tools.
- Click Add a tool.
- Select the Demandbase MCP tool you created.
- Click Reconnect.
- Complete the Demandbase sign-in flow.
- After the connection is successful, click Add and configure.
The Demandbase MCP tools are now available to your Copilot agent.
Step 8. Verify the Connection
- Refresh the Tools page.
- Verify that the Demandbase MCP tool displays a Connected status.
- Confirm that the available Demandbase tools appear.
- Test the agent by running a prompt that requires Demandbase data.
Updated 27 days ago